
Making a Frame

Today was Sunday, which was a day for not checking off things on the to-do list, and instead building things in the wood shop. The new wood shop is small, cramped, and cold, but the tools don’t seem to mind. The two cats (I’m currently cat sitting) ran in when I walked out, and get scared out when I go in and start making noise. I just hope they don’t get stuck in there again, and poop in the sink.
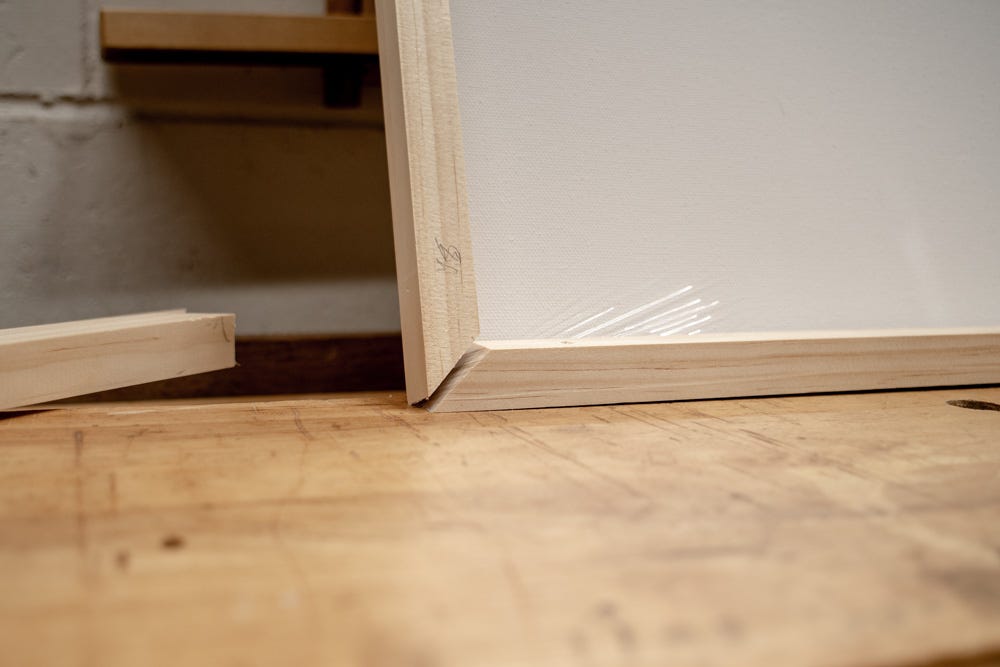
I’m building another frame, as a Christmas present for a canvas painting (also part of the Christmas present). It’s a simple mitered frame, pine wood, just to add some style to the bare canvas. The painting hasn’t been painted yet, so I’ve only just started the miter joints. They will be cut to size when I have the finished piece. Then, a coat of oil on the frame before nailing in place.
I don’t normally take on frame projects because most people (understandably) don’t want to spend over $200 on a frame. Machines are much more efficient at this type of work. Though I will admit, the handmade frames in my house do look better than all the others.
Also, hand-cutting miter joints can be challenging, depending on my mood. Ideally, I’ll take my time setting up, take a deep breath, and cut the joints with all the patience I can find, then saw the miter nice and slow at the slightest angle to fight the grain. If I have the patience, the cut will be perfect. If not, then… yeah. It’s funny how I put so much effort into making the miter joints line up, but many of those cheap frames at the store have pretty terrible joints. I never even noticed until I started making my own.
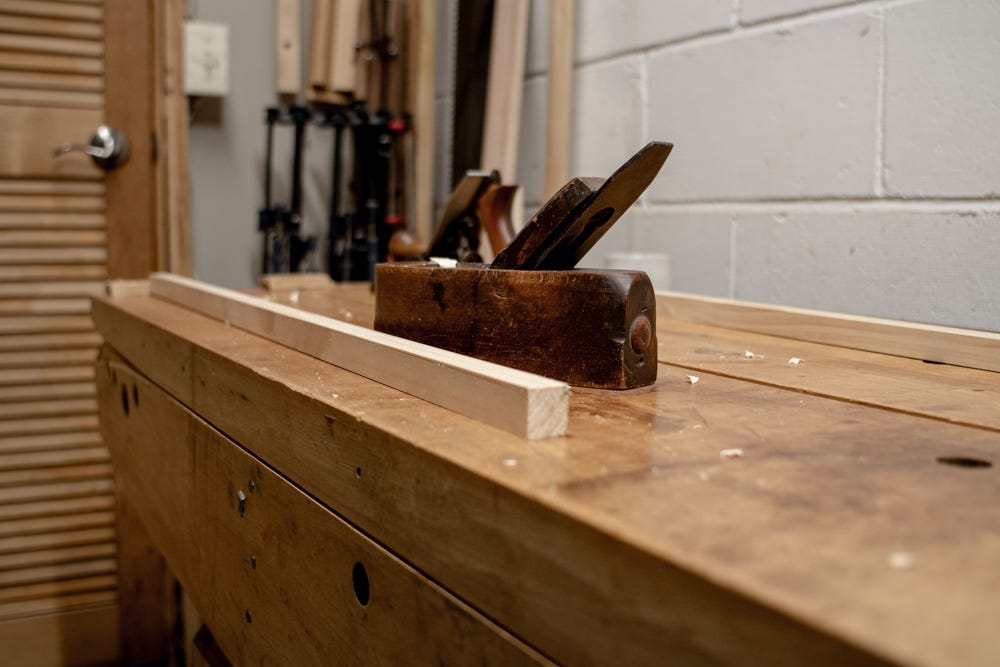
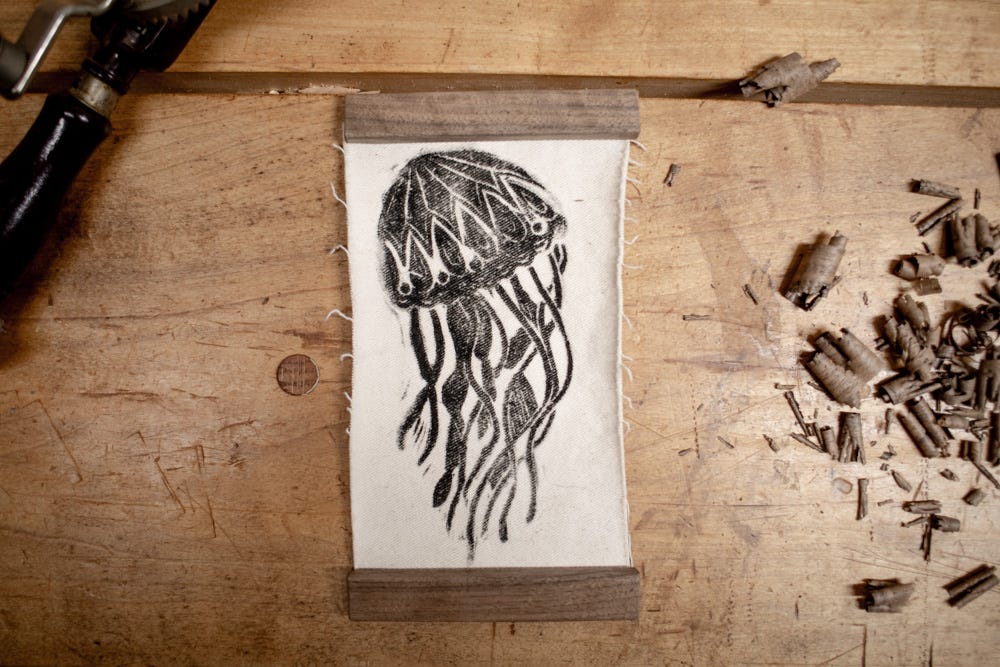
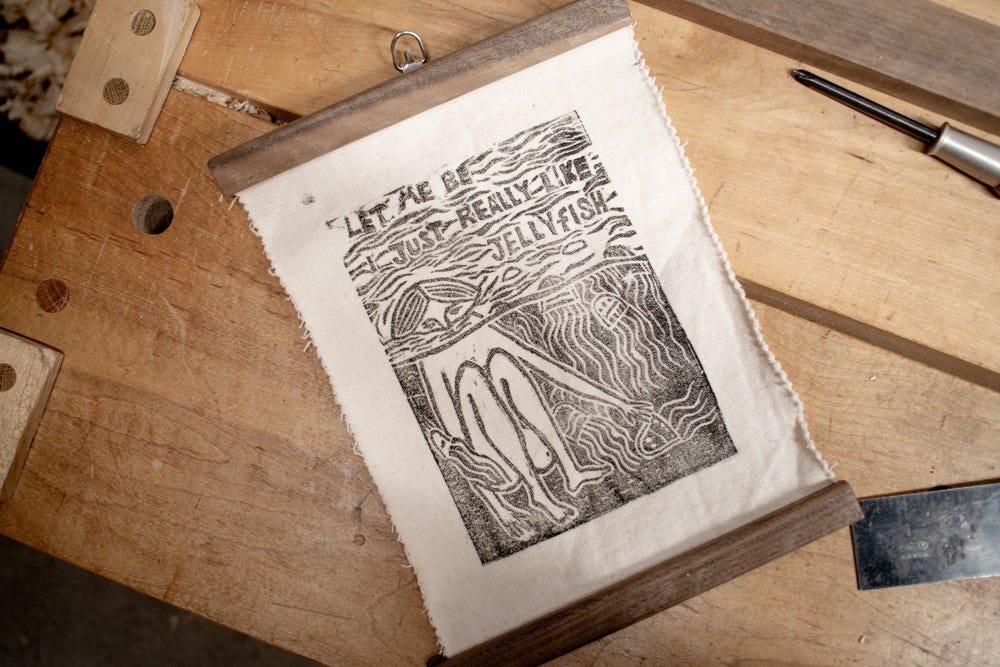
Up next: While waiting for the canvas art, I made two tiny “frames” for a couple fabric pieces. It’s a print on cloth with no structure like the canvas piece, so each one will have a clamped bar at the top to hang from, and a clamped bar at the bottom to pull the fabric flat, and complete the look. It’s a clean style I saw somewhere that will be a good fit for the fabric medium. These will be in black walnut wood for the dark contrast. There are still a few black walnut scraps in the stash to use.
Smaller pieces are always a bit of a challenge. The tools aren’t really made to work around small things without some kind of jig. These are pretty basic: cut out the pieces, plane the faces, round the corners and edges, and drill the holes.


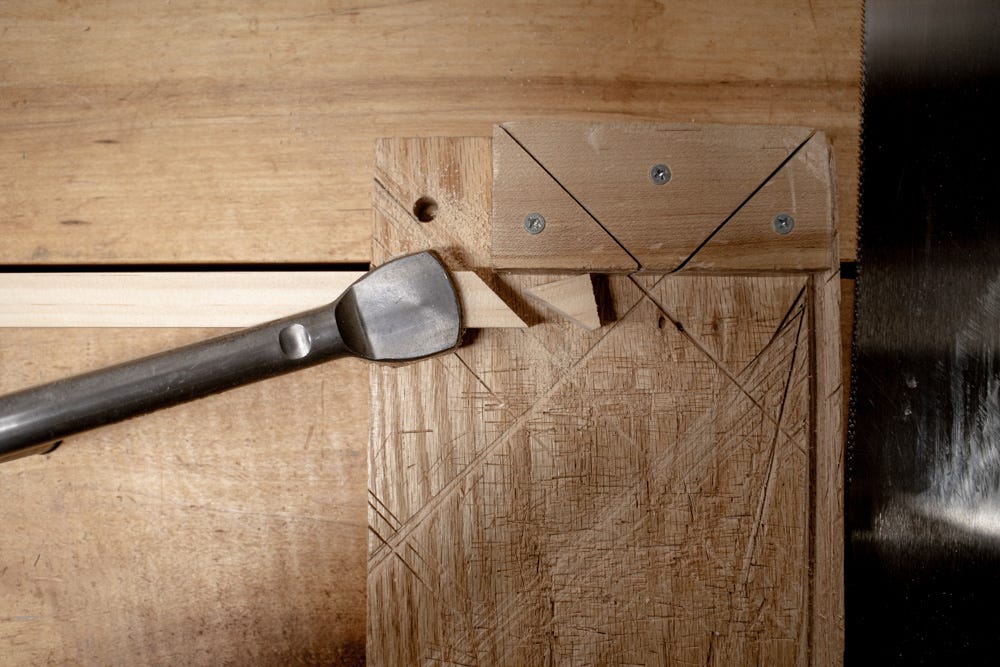
Drilling holes for screws is surprisingly time consuming. 1-Mark the locations. 2-Drill the first piece with a loose-fit size. 3-Drill the 2nd piece with a tight-fit size so the threads grab. 4-Countersink the face. 5-Put the screw in, by hand of course.
It’s funny, I used to use a power drill because it’s “easier.” Eventually, I switched to the hand drills (I have a hand brace, egg-beater drill, & push drill for different size bits) just to try them out, and discovered the precision and clean cuts with this method that’s hard to get with powered drill. And, the bits don’t seem to dull as fast from overheating. If they do dull, I can touch them up with a file, which doesn’t take long. The worst part is changing through all the different bits needed for one simple screw.
I might be in a complaining mood today.
Frame #1 is waiting for art.
Frame #2 and #3 have been disassembled and oiled. I can assemble them tomorrow or the next day when the oil is dry. These little projects are fun, when everything is finished in one day. I do need to sharpen some tools though.
No sandpaper was used for this project. Sandpaper isn’t fun.